
Dear Readers,
We all know that every electrician charges a nominal amount near about 100/- rs (1-2$), just for simple repair and for the visit charge, even you can do that work on your own like home wiring, making/troubleshooting an extension cord, for which you usually google "electrician near me".
Once you go through the article you will''ve sufficient knowledge to troubleshoot any extension coed, wiring diagram on your own and can save the unnecessary amount you pay to the electrician.
So Let's Begin
Tools Required:
1. Plier:

2. Tester:

3. Stripper & Isolation Tape:

4. Screw Driver:

5. Series Bulb Tester for :

- Simple led with resistance to test socket working or not!
Components Required:
1. Wooden Box as the housing of the extension cord:

2. Extension Sheet to cover extension cord housing:

3. Switch Button:


1. Live input
2. Live output
4. Socket:


1. Neutral
2. Live
Wiring diagram of Extension cord:
Step 1:
Join the live Wire to common Terminal of both Switch button:
- Take 2 pieces of Wire according to distances between them.
- Connect one side the wire to the 1st terminal of the 1st switch button & connect another side of the wire to the 1st terminal of the 2nd switch button.
Step 2:
Connection the live Wire:
- Take a piece of wire according to the distance between them.
- Connect one side of the wire to 2nd terminal of 1st switch button & connect another side of the wire to the 1st terminal of 1st socket.
- Take another piece of wire according to the distance between them.
- Connect one side of the wire to the 2nd terminal of 2nd switch button & connect another side of the wire to the 1st terminal of 2nd socket.

Step 3:
Short the neutral Wire to One terminal of both Sockets:
- Take a piece of wire according to the distance between them.
- Connect one side of the wire to 2nd terminal of 1st socket & connect another side of the wire to the 2nd terminal of 2nd socket.

Step 4:
Connection of Power Supply (220 V AC):
- Connect live terminal of AC 220 volt to 1st terminal of 1st switch button and test it using the tester.
- Connect the neutral terminal of AC 220 volt to 2nd terminal of 1st socket.

Step 5 :
Closing of the Box & Testing of wiring diagram/Connections of the extension cord :
- Close the box with help of 4 screws
- After doing the connections, test the switches & buttons by a series bulb that they are working correctly or not.
- If the connection will connect the series bulb will glow otherwise not.


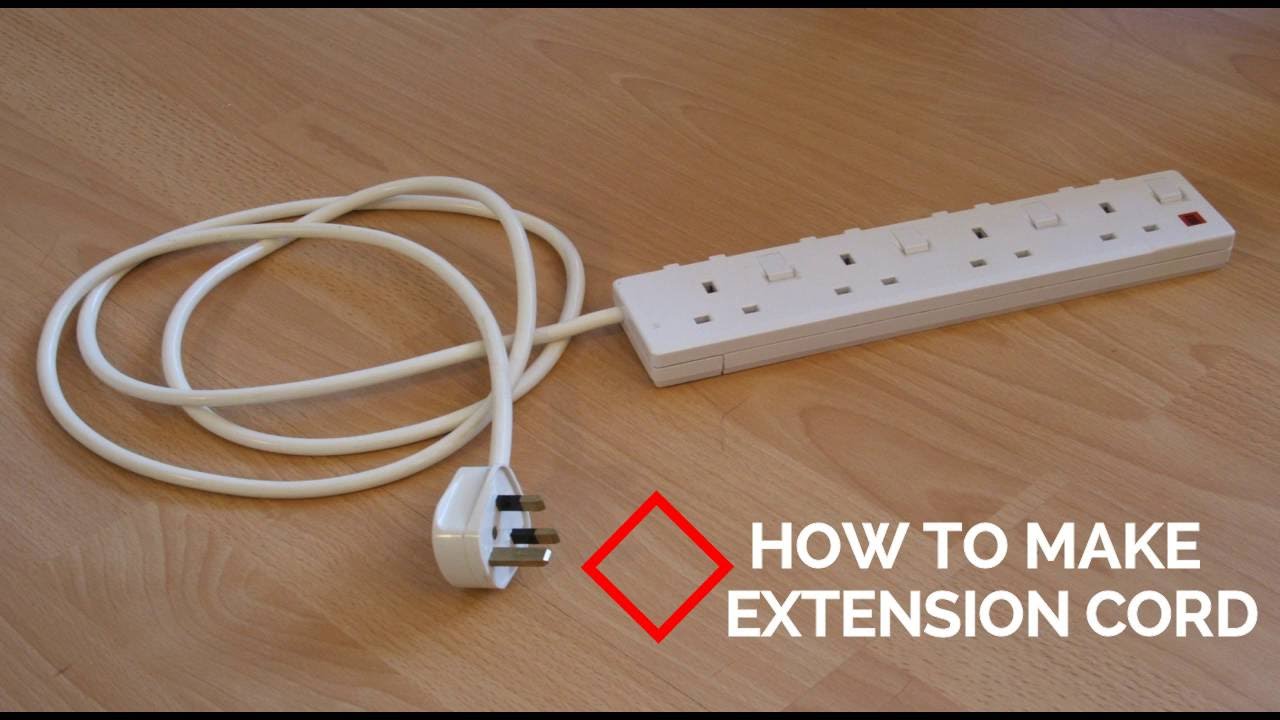
Congratulations your
extension cord/ Board is ready:

Precautions:
1. Make the connection correctly & carefully.
2. Test the circuit carefully before connecting to the 220 VAC
3. Switch on the power supply when it is required rest make sure it stays turned off save electricity, save money
Thanks a lot for spending your time to read this article, hope this helps you somewhere.
As feedback, let us know what kind of content you'd like to have on our web articles so that we can work? according to your field of interest and make some worth for the precious time that you've spent here.
As feedback, let us know what kind of content you'd like to have on our web articles so that we can work? according to your field of interest and make some worth for the precious time that you've spent here.


1 Comments
Nice brother
ReplyDelete